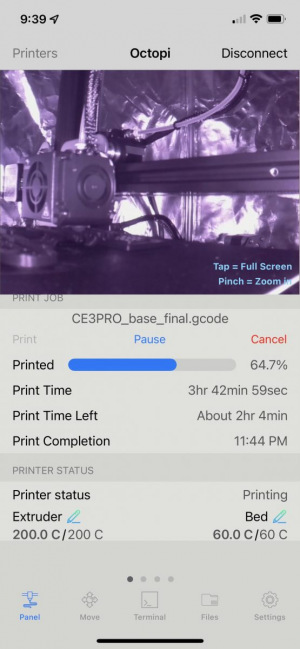
Octoprint is a very slick addon to your 3D printer. It uses a Raspberry Pi to control your 3D printer with a web interface allowing you to upload files to print, and monitor the printer with data and video without having to go to your printer physically.
The first thing I did was print out an enclosure for a Raspberry Pi 4b I had lying around. There are tons of different options on Thingiverse for this but the one I chose goes under the LCD panel, you can find it here. I liked the design because it filled in the empty space below the LCD making it look like a more natural part of the printer.
I then followed the instructions to install octopi on my Raspberry Pi 4b.
I already had the following parts on hand but you may need to purchase them:
- Raspberry Pi and power cable this kit linked has more than what you need in it
- USB Micro cable You only need one of these cables
- Camera either USB or ribbon cable
The USB cable will go between the Raspberry Pi and the USB micro port on your printer. For the camera, I printed this camera holder from Thingiverse. There are many types of camera holders but I liked this one because I already had this type of camera on hand and I like it mounting to the bottom rail end. It also didn’t need any additional screws or bolts. Though I ended up mounting it to the front rail end where the LCD panel is.
Now that octopi is installed on the raspberry pi, the enclosure for the pi is done, the camera mount is set up and the cabling to the camera, power, and printer are connected you should be all set.
There is also a mobile app for connecting to Octoprint as well as an Ultimaker Cura plugin allowing you to print directly from Cura to Octoprint.


