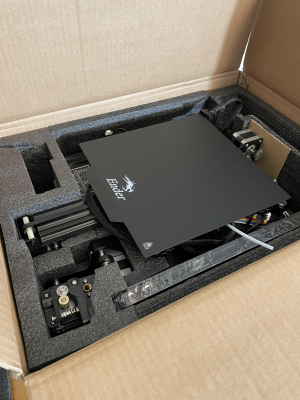
I took advantage of my first local Micro Center deal since I finally live near one for the first time in my life. I scored a Creality Ender 3 Pro for $100 after a new customer coupon. I also picked up some basic Inland PLA filament in white and black. I have wanted a 3D printer for a while now and had planned for one but never had the budget for it. It was impossible for me to pass up this printer at such a fantastic price so I jumped on it.
Building it was easy, it was partially assembled and mostly required putting bigger parts together so nothing hard. Instructions were fine but not the greatest. I had heard horror stories about 3D printers and calibration, especially the cheaper ones without a lot of the bells and whistles like the Ender 3. I did a bunch of research to make sure I understood how to calibrate it. Because it was partially assembled the parts that needed the adjustments were mostly already put together. Other than bed height I really didn’t have to do any adjusting out of the box. The build quality is shockingly good for the price point and it felt very sturdy for a two post.
I picked benchy the boat off thingiverse.com which is a classic benchmarking print for my first one. This is designed to make sure everything was working and configured well enough due to its design and how the printer goes about printing it. You can’t just download a CAD (.stl) file off a website like thingiverse and load it on the SD card for the printer expecting it to print. It needs to be run through a Slicer. Most bigger name printer companies have their own slicer programs but one of the easiest and most commonly used ones is called Cura by Utilitmaker. Slicers convert CAD files to GCode which is basically just commands for the printer. Slicers are where a lot of the magic happens and I just selected a pre-defined Ender 3 Pro profile as well as the filament type I was using which is PLA. Once these two things were set I sliced the benchy CAD file and exported gcode file goes on an SD card. The SD card then went into the printer where I can now select the Benchy on the screen.
The benchy turned out well, not perfect but pretty good for a first try with minor stringing. I then went on to make a CHEP cube to make sure everything is calibrated well. This also turned out pretty good.
I am really impressed with this printer out of the box and stoked to finally have a 3D printer as I have been watching them for a while. I have lots of plans for things to make and a few upgrades for the printer.


